Pages

Showing posts with label vintage buttons. Show all posts

February 27, 2012

...got my money's-worth out of that one!

I'm referring to this pattern:
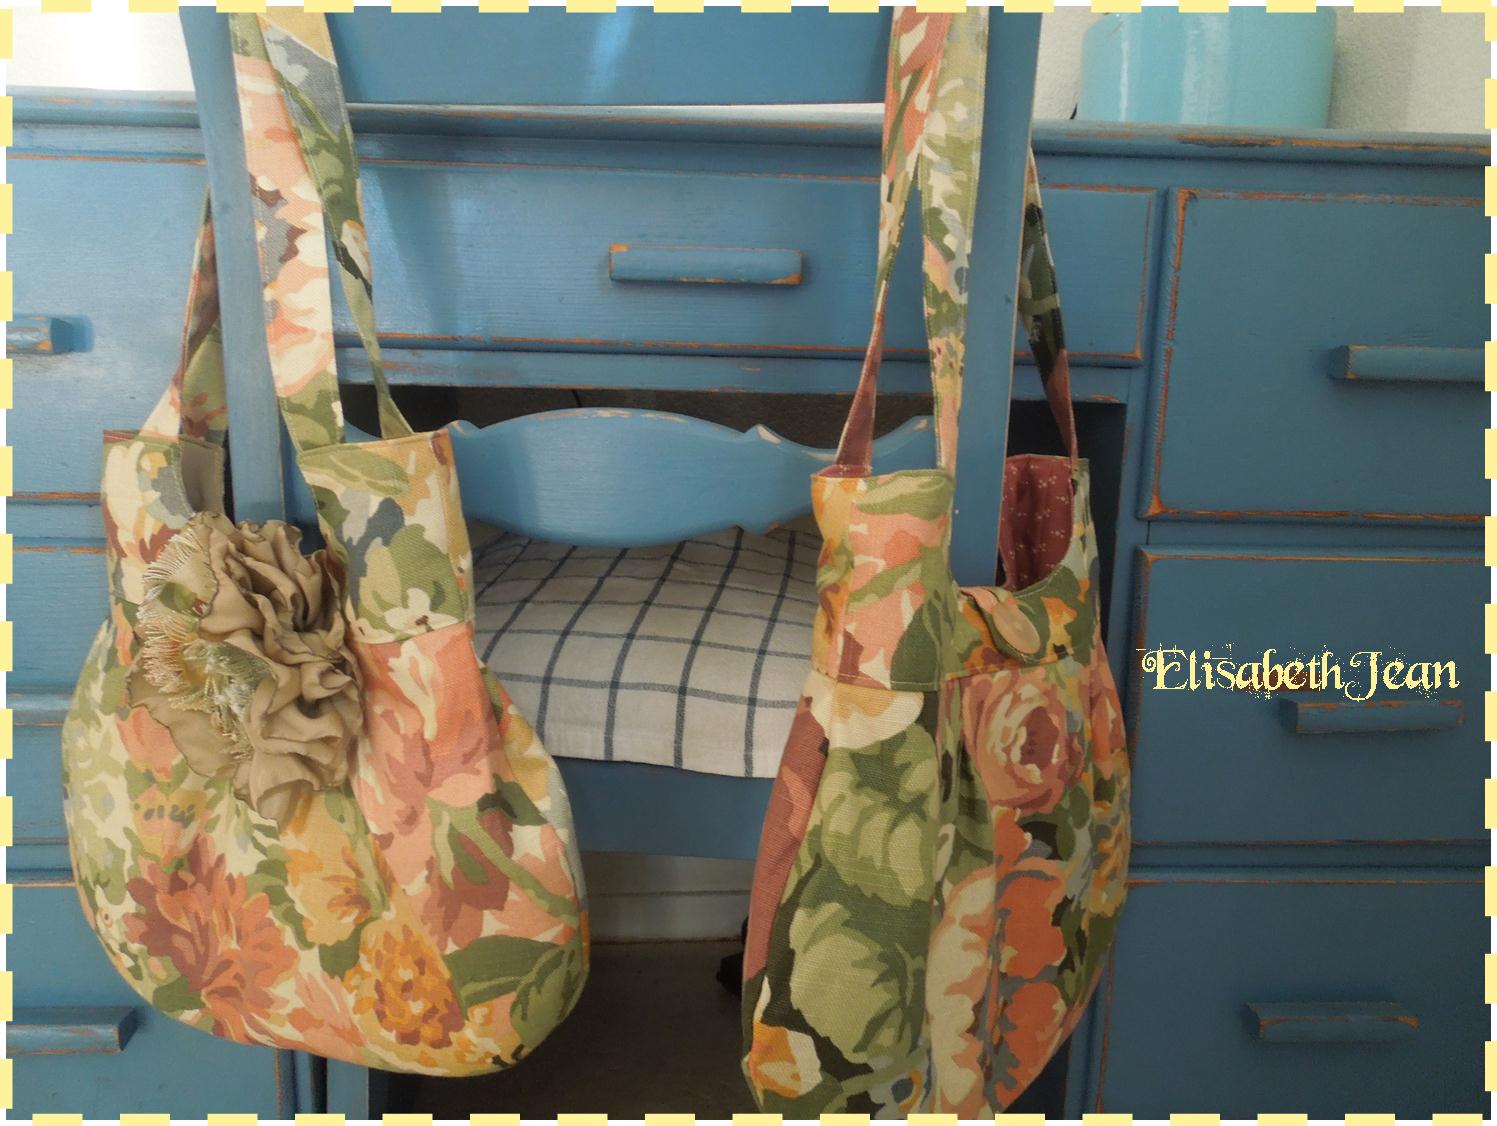
I finished my 4th & 5th purses from View A this weekend. (You can read about the first two for my sisters here, and the third here. I also stitched a View C/D bag out of old suits here.) I think I will give the pattern a rest for a bit -- then maybe work on another couple with the patchwork style.

But back to the ones I finished yesterday:
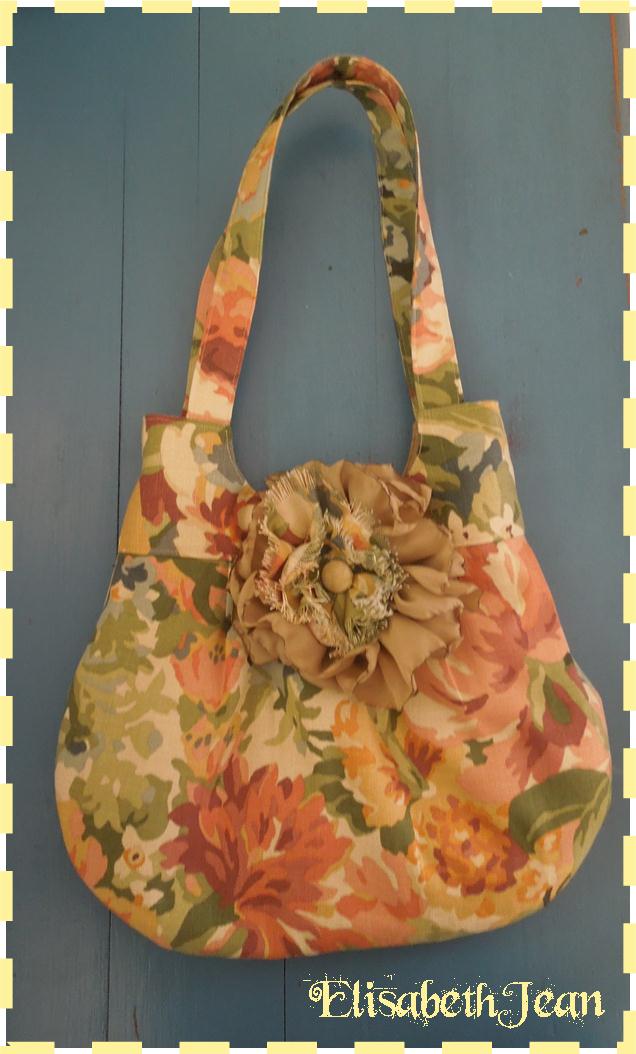
For the first one I made a raggy & singed flower. I wanted to use a magnetic closure; but I needed something to "pop" on the bag's front in place of the button.  
The closure is not at all difficult to install; but in order to ensure that it & the surrounding fabric would wear well, there were a couple "extras" I decided to incorporate.
First, I used a leather scrap so the closure wouldn't eventually pull through the fabric. Secondly, I had to treat my top-stitching differently than in the other bags to better support the magnetic closure's weight.
It turned out to be a very pretty little purse.
The last one is MINE.  After stitching the previous four bags I knew what extra touches I wanted in mine.
I found a cute vintage cardigan button that was a little rose-y in color.
I totally needed this loop to keep my hand sanitizer
(it just looks bad attached to the handle of my suit bag...)
I really wanted a clip for my keys
I wanted a pocket to keep pens & my phone
& I wanted a pocket with my monogram. 

Now I've got it all! (...well, at least until I stitch up some accessories...)


(Gonna link up with Skip to my Lou.)


Julie invited me to her party, too!

February 7, 2012

A Raffle for an Adoption...

My friends Karen & Josh over at Our Adoption Faith Walk are holding a raffle as a fund-raiser to bring their baby home. They have some mighty sweet prizes for those winning tickets!
I have it on good authority that an ElisabethJean original bag, such as this one
(I blogged about creating this here.)
will be included in one of these raffle "baskets". I've been told that it will be part of the "Spa Package". If you've had your eye toward snagging one of my purses, then this is just the opportunity you've been waiting for, isn't it? 

This just in:
Well, the bag is now finished. I really love how she turned out! Still trying to decide what color fabric from my stash to use for the accessories...
inside pocket

pleats & top-stitching


November 5, 2011

Things I'm loving...

My life this week was spent rearranging some furniture . . .
sewing a costume . . .
buying a jacket for an important interview . . .
buying & installing coat hooks . . .
watching a sunrise . . .
yelling at a game . . .
loving me some boys!

Thanks, Paisley Jade, for again reminding us that you "wholeheartedly believe that no matter what is happening in your life, there is always something that you can be thankful for... no matter how simple it is."

July 11, 2011

purses are finished!

Soooooooo, I told you I was participating in a Simplicity Summer Tote Sew-Along using this pattern?
Well, I have completed the purses I started last month.
The fabric was part of my mom's stash from way back. (Pretty sure there's a '70s caftan or muumuu out there with this print goin' on...) I lined it with a color reminiscent of the bridesmaid dresses I forced coerced made lovingly asked my sisters to wear in 1992. I found shank buttons off a vintage jacket to use for the closure. I monogrammed the inner pocket with each sister's initials.
Here's a blow-by-blow pictorial of my process. (You can hang on for the entire ride -- or jump off now...)
Prepare by selecting fabrics & trimming pattern pieces.  Cut out pieces from chosen fabrics (exterior, lining & interlining) and interfacing. Apply interfacing to appropriate pieces and transfer markings.  Because I was planning on monogramming the pockets, that needed to be finished prior to assembling the pockets. From there I went ahead and attached them to the lining.
After making the little pleats & attaching the body to the band, I realized things would look a little more "finished" if I were to top-stitch there.
The pattern called for the button to be sewn on after the bag was finished. I don't know about you, but I like my lining to look nice & neat; which it would not with little stitches for the button hanging around. I chose upholstery thread to stitch the buttons. 
I also decided that since I was using a shank button for the closure, I would need to back it with a flat button so the stitches would not pull through through repeated usage of the closure. 
Doesn't that look nice against the top-stitching?
When attaching the lining to the body of the bag, one must be sure not to catch the handles in the stitching in the wrong place! I might or might not have had to rip out a couple stitches to free up a handle or two...
After the lining is attached & pressed, then the entire opening of the bag is top-stitched.
Now, just sit back & admire your bag(s) from all angles!


I'll be linking this post to Laurie's Tip-Me-Tuesday @