Pages

Showing posts with label #SilhouetteAmerica. Show all posts

October 17, 2017

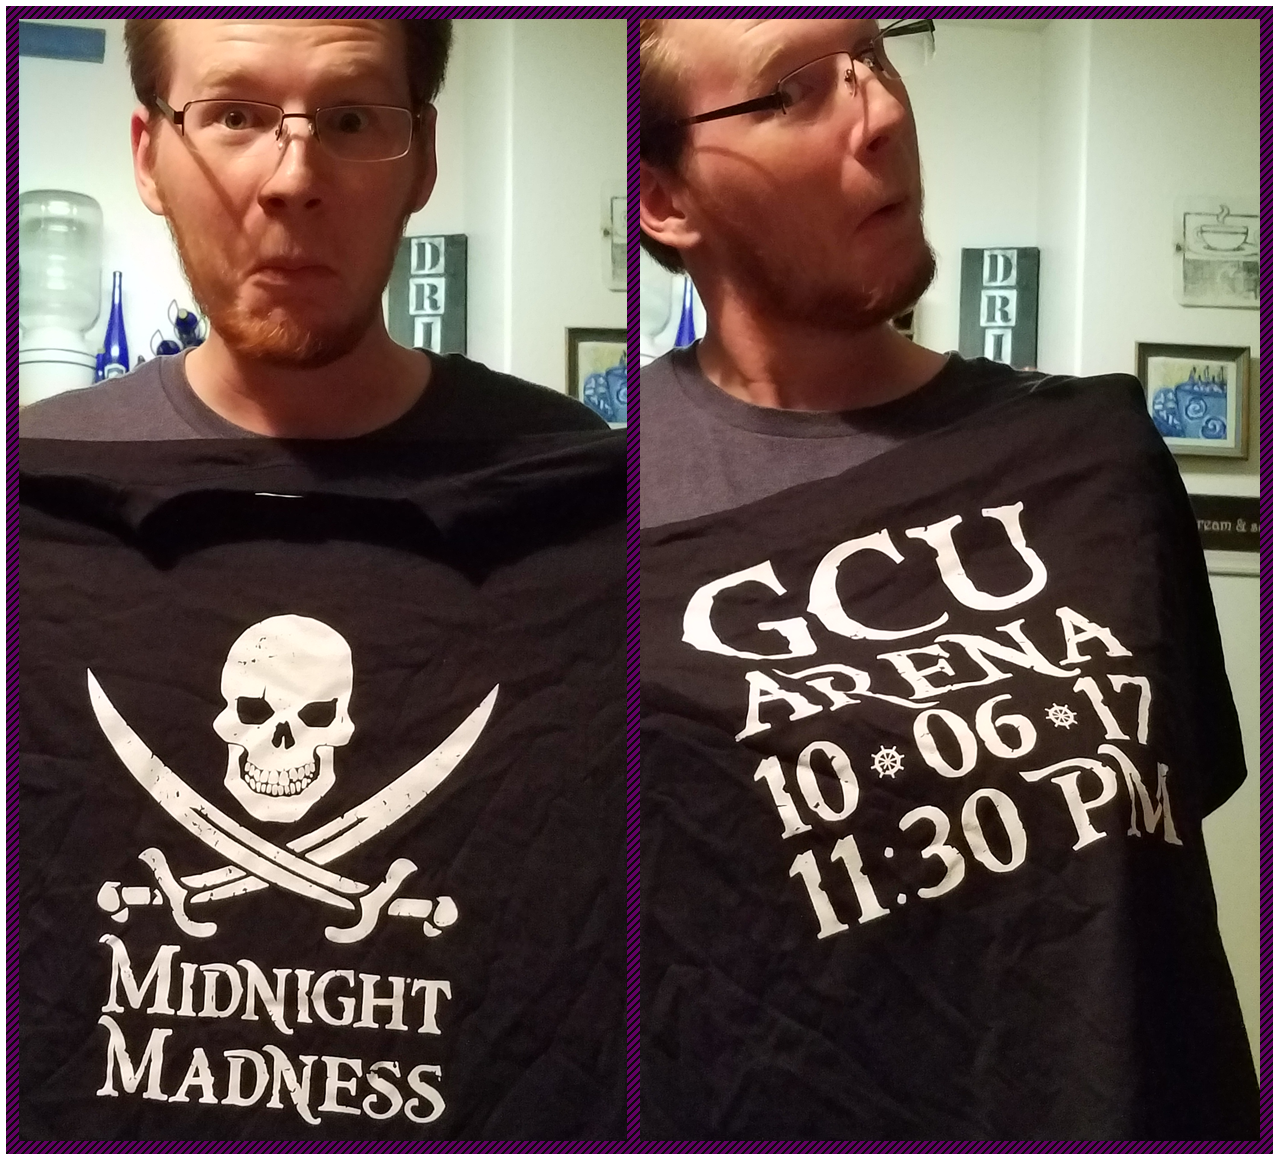
The Madness Which Comes Before Midnight

(you can't tell he had it wadded up in his pack all day, right...)
The #MidnightMadness tradition at GCU gets bigger & better & wilder & crazier every year.
(These tickets were a precious commodity --
many were turned away at the door!)
(They start planning the event more than a year ahead!) Last year was our family's first glimpse of the impressive spectacle.


My drummer's costume from a year ago was mostly thrift-store items with a little sewing/crafting added on. This year, however, we decided to complicate things by only having a children's-sized costume pattern! We'll get to that after the videos:
This is GCU's take on the whole evening. (Can you tell why they call it MADNESS?) There's a split-second glimpse of the drumline's show at about :31. I don't think my pirate got in the frame...


And this is our view from the other side of the arena. What fun!

But before all the fun, there was much hard labor in assembling the drummer's costume:
(Duncan is an excellent snoopervisor...)
Drafting an enlarged vest wasn't near as difficult at getting those boot covers big enough to disguise size 14 marching shoes!

I found these tools to be invaluable when sewing vinyl!
I used upholstery thread in the needle because I knew tugging these on & off would put a lot of tension on the stitches.
I saved a little time by using the embroidery machine set-up to stitch all 17!!! buttonholes. I covered the buttons with yellow fabric and then brushed them with gold metallic craft paints.
The welted pockets are not something I'm going to try again anywhere in the near future!!!


The sash was split in sections & stitched to wide Velcro® so it was quicker to don than winding/unwinding yards of fabric. I used my Silhouette® to cut the gold antelope logos. The belt I made from some leather yardage. I was going to embellish a large buckle with the 'Lope's logo, but since the drummer was wearing his drum all night, it would've been a waste of time...

The grey pants came from a thrift shop and got 2 cans of paint sprayed into stripes.

It was my plan to find stage make-up gold pirate teeth & to fill the drummer's fingers with rings. I got an emphatic "no" on the teeth & a "Mom, you know I won't be able to perform stick tricks with that junk on my hands, right?" I did talk him in to wearing a plastic gold (touched up with a little of my metalic paints) pirate earring.

What I was not expecting was his vision of a handful of shrunken skulls attached to a rubber knife. The skulls would have the logos from GCU's seven division rivals.
We found the plastic skulls at Michael's. A little bit of tan and cream paints gave a nice weathered touch...
I used glow-in-the-dark paint for the eye sockets. Originally I printed the logos on Silhouette® sticker paper, but they didn't stick!
We ended up using computer paper & tacky glue 'cause we were running out of time.

#vinylallthethings

I've been such a "cut-up" lately...

I had been wanting to make a giant canvas for a long time. A little re-decorating of the front room plant shelf was my impetus.

This is Psalm 100 on a 24" x 36" canvas from the HobLob.

My friends are relocating their antique shop to downtown Glendale and asked me to make a few signs.
front shop window

I usually spend way more time designing than the cutter takes to cut the vinyl! 


And then my friend found stashed (& forgotten) stocking-stuffers from 2 years ago. I tried a little stretch vinyl on them. 

I also made the hubs a shirt he'd been asking for since the one he special ordered at a shop (who knew tall men need longer t-shirts?!?) has started to wear.

I've also got a few more projects in the planning/designing stage...

June 18, 2017

The Second Star to the Right

This month I have learned much about the beauty of the broken. (semi-referencing a dessert recipe from last week...) At times, this loveliness is seen when the item is mended. But quite often, the damaged object has an exquisiteness that would never have been realized except for its perceived imperfection.

This story, however, is not about the shattered & repaired, but about replacement & making better. (This is also a story, unfortunately, about how long it takes me to figure something out... ☹)


In January a teeny, tiny boy was born. He was too small, at 2.5 pounds, and too immature to cope with our world, so he had to live in the NICU for some days.
We all rejoiced when he graduated & got to come home to live in the wonderful Peter Pan-themed nursery his parents lovingly decorated for him.

*******************************************************************************

I had started a nightlight project for Benjamin when I found out how his mama was designing his bedroom. I got a shadow box from the HobLob and fastened in some battery-operated mini lights. I was planning on cutting the lyrics to "The Second Star to the Right" (from the original Disney animated  movie "Peter Pan") on black cardstock with a stencil-type font; then I would just affix the paper to the glass -- boom -- done.
Of course that's not what transpired! I believe I ran that scenario 4 times, changing my blade & mat a couple times in the process. (...and I was way too frustrated to take photos I knew I'd be way too embarrassed to post!!!!!)
I knew even with the best transfer tape I would struggle applying that large of a piece of vinyl with that many tiny letters cut out. Any wrinkles would ruin the nightlight's appearance. So I decided since HTV comes on its own transfer sheet, that would be my best bet.
(My premature celebratory photo...)

AND IT WORKED! ☺
I  wanted to adhere it to the back side of the glass. I thought I would be smart & save time so decided not to take the cover off the shadow box to press the HTV. Not my most brilliant move. Even with a stack of towels to firmly support the glass, I couldn't get a good press.
Duncan tried to warn me...
My goose was cooked as I was trying to heat that final bubble when I heard a tiny "pop" & "crackle"...
Needless to say, words were said & tears were shed.
I put the project aside for awhile. ☹

When I was ready, I went to the hardware store to have a piece of glass cut to fit the frame. (Long story short, guy wasn't exact with his measurements & I had to use the dremel on the frame to get it to seat correctly...)
Meantime I'd picked up some black glitter htv... changed the font and it cut like butter!
Did my penance with a few hours of weeding.
Held my breath and pressed it to the glass. HALLELUJAH! We didn't crack!
I also held my breath fastening to glass back into the frame.
Had to go with a little wood glue after the hurry-up dremel job...
...and decided to change the light string.
So happy I got it delivered without any more mishaps!


This morning we were blessed to witness Big Ben's baby dedication at church...   ♥

June 4, 2017

Teacher Appreciation

...& the blog I forgot to post...


Last week was teacher appreciation at my son's school.
 I made these
 ('cause in case you don't remember, there's a moratorium on sending in home-baked treats...)


Now, there was a teacher who'd moved away in the middle
of the year. Two of our boys 

had him for percussion
& band the past 5.5 years; but the rest of our family loved him & his tribe, too. (A few years ago I made a quilt for his baby girl & blogged about it here.)
 

Well, baby girl now has a baby brother, & of course we had to make a quilt for him! Last fall I found out the nursery was to have a woodland theme, so I bought a set of appliquéd forest animals from Bunnycup Embroidery.

Next came the arduous task of finding the perfect backing fabric. None of my local shops carried something that would coordinate with the embroideries; but a shop on Etsy had some yardage I loved!
Then I heard the baby would be a "he" so I had to make sure my fabrics for the appliqués were boyish.
I had plenty of help from Duncan, who has lots of experience with quilts...
I quilted by using a double needle & "stitch-in-the-ditch" -- I like the way it turned out, for the most part.
Next big decision was what to bind with & my friend Cindy gave me the best advice, "Orange Minkee" she said.
Perfecto!
Then all that was left was to stick it in the mail...