Pages

Showing posts with label tutorial. Show all posts

September 5, 2011

Just for me!

Once upon a time, a very good friend gave me some delightful napkins from her vintage linen stash.
I have been saving them for just the right monogram. God bless dear Sonia Showalter who designed the perfect monogram. Her Fleur de Lis II Alphabet was precisely the design my beloved napkins were awaiting. I printed out the design for my template.
I decided its placement on the napkin.
(Also had to figure out how the napkins would fit within my hoop.) 
I couldn't hoop it by the fringe, so I had to determine which rinse-away stabilizer I should use.
Placed the hooped stabilizer in the machine and maneuvered the napkin into the proper placement.
Basted the napkin in place.
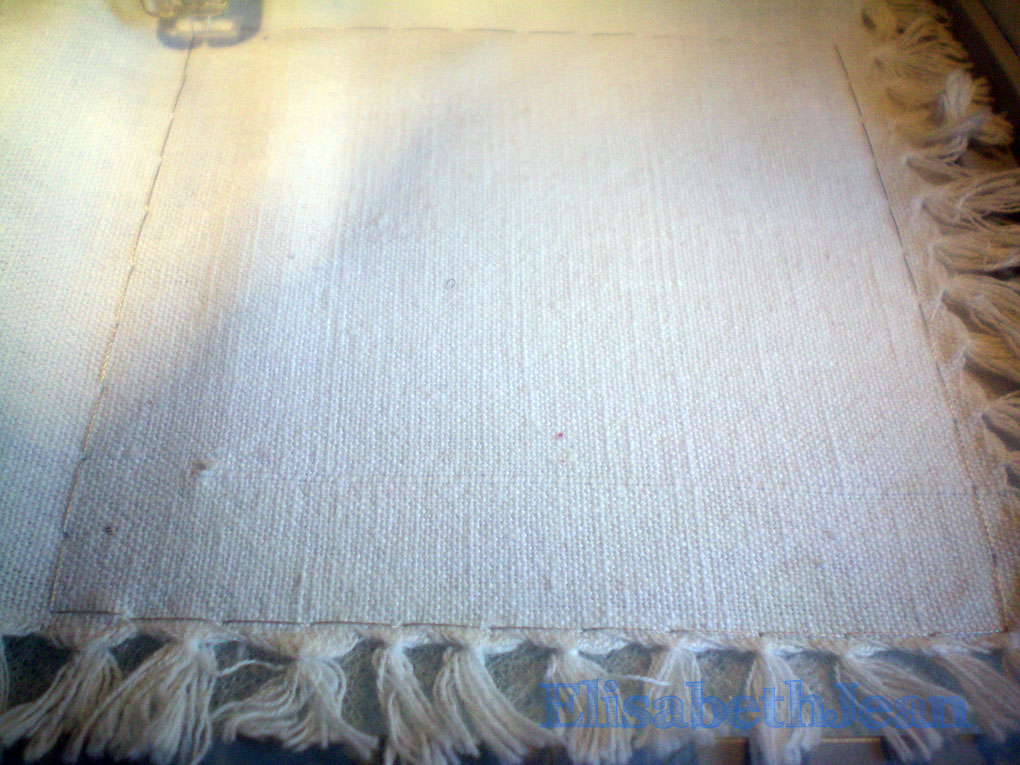
Silver background stitching is finished.
Here you can see how Sonia just builds that gorgeous frame.
Frame completed, now ready for "S". I decided to embroider that in white also.
TA - DA!
The napkin will be used mostly with our white Mikasa stoneware...
but looks very nice with the vintage Franciscan Desert Rose & silverplate inherited from the hub's grandmothers.


mmmmmmmmmmmmmmmmm -- love.it.

June 4, 2011

Are you "man enough" for my white chili?

(We'll just see about that!)

I was wondering -- Do you ever get bored with the same ol' pinto-bean/hamburger/tomato-based chili? I do. My guys do. That's why we "invented" our brand of WHITE CHILI.

Start with a pork roast. I just toss mine in the crockpot during the summer. (And yes, it is still frozen... it's called "not planning ahead"...)
I season it with just a tiny little bit of kosher salt & some fresh-ground black pepper.
When it's done, I take it out to cool.
I chop it into bite-size pieces & remove excess fat.
Pour a little milk over it and roast in the oven until it's a little crispy & brown. (Yup -- kinda like carnitas...)
I hope you didn't pour off the drippings from that slowcooker!

I toss my beans & appropriate amount of water to cook.
When the beans are starting to soften, I add my other ingredients.

My two must-haves are green enchilada sauce

and lotsa garlic.
I often sauté an onion (this time I was out, so I just used dried) and add a little fresh cilantro. (Didn't have any of that, this time, either... like I said, plan ahead!) Sometimes we've been known to kick-it-up-a-notch by adding fire-roasted green chiles!

I simmer this for a bit to get those flavors dancin' & singin' together.
My favorite garnish is a sprinkle of Monterey Jack cheese. (Sour cream would add a creamy dimension, if you're into that sorta thing...)
 My boys love some sliced black olives on theirs.
Hubs likes his with a side of warm tortilla chips.

I'm linking this post to

April 10, 2011

How I made my micro-mitts...

This post is going out to my gir-ruls at Spools Of Fun Embroidery Forum! I guess I'm just a terrible 'splainer when it comes to some of my projects. Hopefully my step-by-lazy-step photos will give you an idea of how I stitched them. Please feel free to ask any questions.


(pre-folded & pressed the "pocket" fabric)


WSS hooped
"sandwich" for body of mitt waiting to be tacked down
(what are my mom's hands doing in my photo!?)

tacked down

trimming
(Yes, I see that gathered bobble!)


How lazy is this?

pockets tacked down


& trimmed

backside -- ready for finishing stitch

done - done - done!

trimming WSS from back


Haven't run a damp rag around edges to remove the last of the WSS,
but you get the idea.